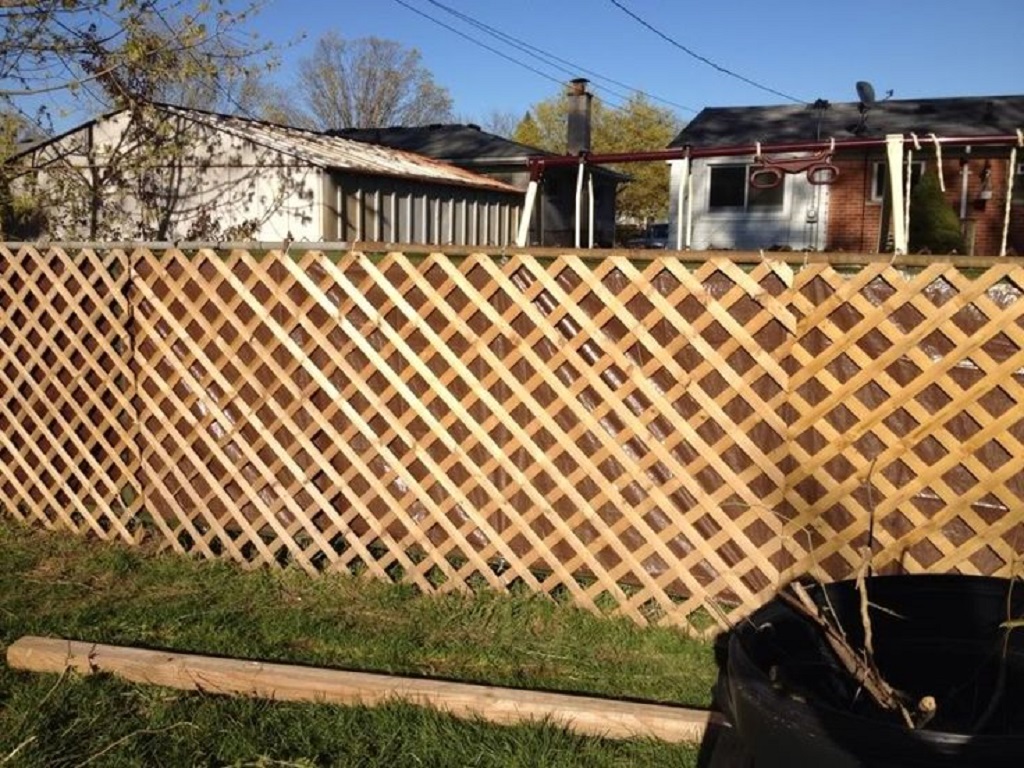
If you’ve ever needed a quick solution for marking boundaries, controlling crowds, or ensuring safety at an event or construction site, a temporary fence can be your go-to option. Temporary fences are versatile, cost-effective, and relatively easy to set up. In this guide, we’ll walk you through the steps of creating a temporary fence, providing you with practical tips and insights along the way. The article is penned by Isdaynursery.com.
1. Understanding the Need for a Temporary Fence
Before you jump into building a temporary fence, it’s crucial to understand why you need it. Temporary fences serve various purposes, such as securing construction sites, controlling access to events, and maintaining safety in outdoor areas.
2. Gathering the Necessary Materials
To build a temporary fence, you’ll need a few essential materials. These include fence panels, removable fence post, connectors, zip ties, a mallet, and safety gear.
3. Planning the Layout
Decide where you want to place your temporary fence. Ensure you have a clear idea of the boundaries you want to establish and mark the positions for the fence posts accordingly.
4. Installing the Fence Posts
Using a mallet, drive the fence posts into the ground at the designated positions. Make sure they’re stable and evenly spaced.
5. Attaching the Fence Panels
Attach the fence panels to the posts using connectors. Most temporary fence panels come with built-in connectors that make this step easy. Ensure that the panels are straight and securely attached.
6. Securing the Panels
To enhance stability, use zip ties to secure the panels to the posts at various points. This will prevent the panels from swaying or falling due to wind or movement.
7. Adding Support Bracing
For longer stretches of temporary fencing, consider adding support bracing. This involves connecting diagonal support beams from the top of one fence post to the bottom of the next. This step provides extra stability, especially in areas prone to strong winds.
8. Creating Access Points
If you need to create access points through the fence, leave gaps in the panels or install removable panels that can be easily taken down when needed.
9. Enhancing Visibility
In situations where visibility is important, such as events, you can attach banners or signs to the temporary fence to convey information or branding.
10. Regular Maintenance
While temporary fences are designed to be durable, it’s essential to perform regular checks to ensure that the panels and posts are still secure. Make any necessary repairs promptly.
In conclusion, making a temporary fence is a straightforward process that requires some basic materials and careful planning. Whether you’re managing an event, securing a construction site, or creating boundaries for any other purpose, temporary fences offer a practical solution. By following the steps outlined in this guide, you can create a stable and reliable temporary fence that serves your needs effectively. Additionally, if you’re into gardening, you might also be interested in learning how to install organic gardening soil for raised beds to enhance your green space naturally.


