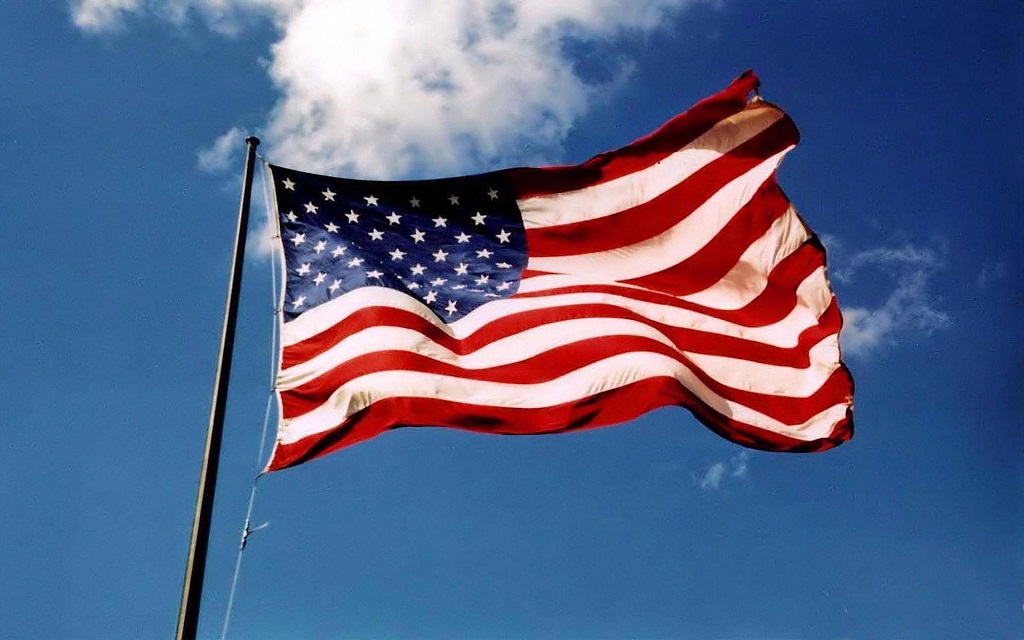
Are you looking to show your patriotism or support for a cause? Hoisting a flag is a great way to do so! Whether it’s for Memorial Day, Independence Day, Veterans Day, or simply displaying your country’s flag on your property, knowing how to hoist a flag properly is important. In this guide, we will walk you through the steps of hoisting a flag with ease and pride. So, let’s get started!
Understanding the Basics
Before we dive into the specifics of how to hoist a flag, let’s first understand some basic terms and concepts related to flags. If you’re wondering how to hang a flag on a pole with rope, you can find a helpful guide at https://yifarope.com/how-to-attach-a-flag-with-rope-and-toggle/.
Types of Flags
There are various types of flags that you may come across. The most common ones include:
- National Flag: This is the official flag of a country and represents its identity.
- State Flag: Each state in a country may have its own flag that represents its unique history and culture.
- Military Flag: These flags are used to represent different branches of the armed forces.
- Organization/Group Flag: Many organizations or groups have their own flags to represent their values and beliefs.
Parts of a Flag
A flag may seem like a simple piece of cloth, but it actually consists of various parts that have specific names and meanings. These include:
- Hoist: The side of the flag that is attached to the pole.
- Fly: The opposite side of the hoist.
- Canton: The upper left corner (usually) of the flag.
- Field: The main background of the flag.
- Union: The design or emblem in the canton.
- Hoist End: The end of the flag that is attached to the halyard (rope).
- Fly End: The opposite end of the hoist, where the flag will fly freely.
Materials Needed
To hoist a flag, you will need a few materials that are easily available:
- Flag
- Flag pole (with halyard)
- Halyard cleat (to secure the rope)
- Flag clips or snaps (to attach the flag to the halyard)
Step-by-step Guide
Now that you have a basic understanding of flags and have all the necessary materials, let’s go through the steps of hoisting a flag.
Choose the Right Location
The first step is to choose the right location for your flag. It should be an open area where it can fly freely without getting caught on any obstacles such as trees or buildings. Also, make sure that the flag will not touch the ground once it’s hoisted.
Attach the Flag to the Halyard
Using the flag clips or snaps, attach the upper hoist end of the flag to the halyard. Make sure that it is securely attached and won’t come off when hoisting.
Raise the Flag
While holding onto the bottom fly end of the flag, start pulling on the halyard to raise it up. Keep pulling until the flag reaches the top of the pole. Make sure that the flag is not twisted or tangled while hoisting.
Secure the Halyard
Once the flag is raised, secure the halyard to the cleat on the pole to prevent it from coming back down.
Adjust and Straighten
Take a step back and check if your flag is flying straight and facing the right direction. If needed, adjust it by pulling on the halyard and straighten out any wrinkles or folds.
Lowering the Flag
When it’s time to take down the flag, simply reverse the steps above. Untie the halyard from the cleat, slowly lower the flag while holding onto the bottom fly end, detach it from the halyard, and fold it properly for storage.
Tips for Proper Flag Hoisting
To ensure that you hoist your flag with respect and proper etiquette, here are some additional tips to keep in mind:

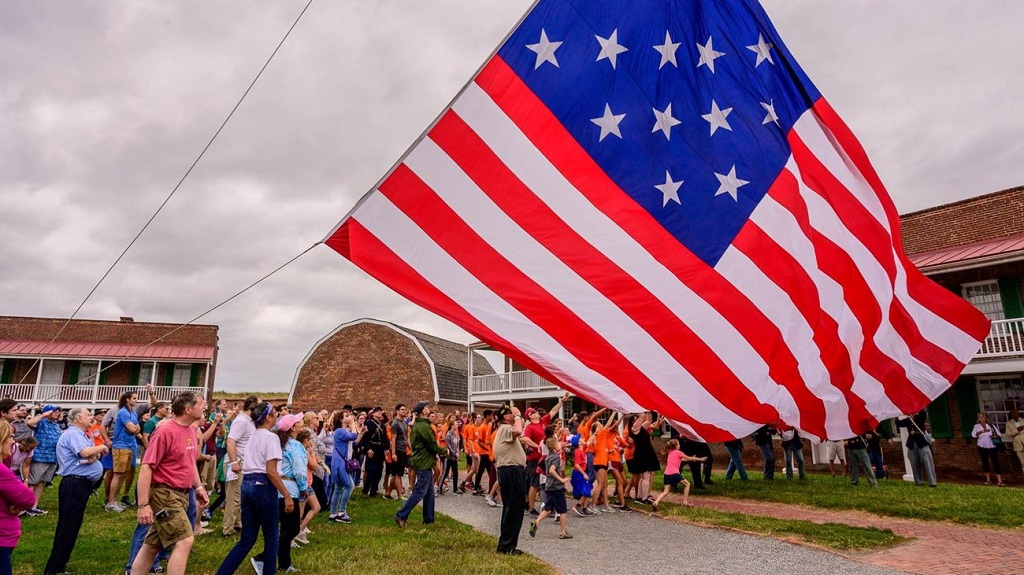
- Always hoist the flag with two or more people. This not only makes the process easier but also adds a sense of teamwork and camaraderie.
- When raising the flag, do it at a moderate pace. Avoid jerky movements or letting the flag touch the ground while hoisting.
- Make sure that the flag is not damaged or torn before hoisting it. If it is, replace it with a new one.
- Only hoist your flag from sunrise to sunset, unless it’s specifically designated as a 24-hour flag. If you do choose to display your flag at night, make sure it’s properly illuminated.
- Never let the flag touch the ground or any other objects while hoisting, as this is considered disrespectful.
- When lowering the flag, make sure to do it slowly and with reverence. It should never be allowed to drop or hit the ground.
- Properly fold and store the flag when not in use. This helps to keep it clean and prolong its lifespan.
Conclusion
Hoisting a flag is not just a simple task, but it also holds great significance and symbolism. By understanding the different types of flags, their parts, and following proper hoisting etiquette, we can show our respect for our country or organization and honor the values that their flags represent. So next time you see a flag being raised, take a moment to appreciate the beauty and meaning behind it. So, go ahead and hoist that flag with pride!
FAQs
Is it okay to hoist a wet flag?
It is generally not recommended to hoist a wet flag, as this can cause damage and lead to mildew. If your flag does get wet, make sure to dry it thoroughly before hoisting.
Can I hoist my flag at half-staff?
Yes, you can hoist your flag at half-staff as a sign of mourning or respect. However, it is important to follow the specific guidelines and protocols for half-staffing set by your country or organization.
How do I dispose of an old or damaged flag?
According to the United States Flag Code, a flag should be disposed of in a respectful manner, such as burning it in a dignified ceremony. Check with your local government or veteran organizations for proper disposal procedures.
Can I hoist my flag upside down?
Hoisting a flag upside down is considered a distress signal and should only be done in cases of extreme danger or distress.
What should I do if the halyard breaks while hoisting my flag?
If your halyard breaks, you can either replace it with a new one or use a temporary fix, such as tying a knot in the rope. Make sure to properly secure the halyard before hoisting again.