Bicycle stands are sometimes used in urban areas and can be dangerous. While you may have purchased a cheap bike stand at the hardware store, this isn’t necessarily the case. A cheap bike stand may not last for long and it may not provide the stability you need to safely park your bicycle. Luckily, there are several ways to repair and maintain a bicycle stand in order to make sure that your schwinn hybrid comfort bike is safe while you are riding it.
How to repair a bicycle stand?
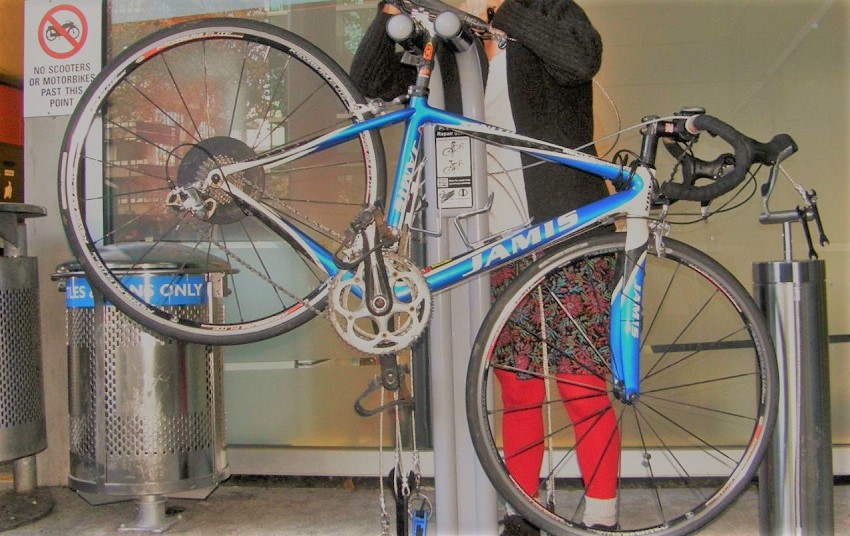
As you may know, bike stands come in a variety of sizes and shapes. Despite this wide selection, it is essential to choose the right type that will work well with your specific bike.
Step 1: Find the place to install
Before you learn how to repair it, it’s important for you to provide a good location for your bike stand. For this purpose, we recommend that there must be an empty space on the wall where you can fix and secure your bicycle. The ideal is located at least 20 inches from any point of walls or porch beams in order to minimize the risk of damage to your bike.
Step 2: Find a sturdy and stable base for your bicycle
The most important thing is putting something that cannot be easily moved by outside forces or vibration. Because if it will be moving, then it could have an accident. That’s why we suggest using time-tested material like wooden boards, which are strong enough but also smooth and flat surfaces where you can fix your electric bike Bicycle lock safely.
Step 3: Carve the stand base
First, you need to find a good fit for your bike. If its type is U-shaped, this kind of stand can be carved into an “L” shape that will easily hold two wheels and another one in front or rear tire only. Furthermore, some fancy types like folding bicycles also require different kinds of shapes. Specifically, these carvings are needed where bikes actually meet each other. After all, makes drawer withstand can be found at discount stores or antique shops. Because these items are widely available and also inexpensive, you could use them to good account for your storage space.
Step 4: Mount the stand within the desired distance from wall mount steps
When fixed out wide range, it will definitely satisfy most bicycle owners considering them just another household decor thing here’s there, but no further situation for safety issues. If we consider bike repair leveling those stands against a wall surface is recommended because it will protect the bike from touching against any rough surface over time. Who knows how dangerous that could be. Keep reading What Things Never Do with Your BMX Bike.
Step 5: Attach an electrical outlet behind though
It’s easy to attach a USB charger or when we refer personally, by necessity. You’ll have better chances of continuing your cycling habit if this point is secured properly. There are lots and plenty kinds tricks for safely securing the power source at last, but here’s how: since reducing strain on handlebars afterward can be very useful. Some would prefer a switch placed backward (from where you want to leave the electricity). Another option that will save lots of potential hassle is by installing an electrical outlet right behind where the bike stands attached. Furthermore, it could be about a power inflating pump with a USB port for both bikes and street life if we ever need to work on your bicycle tires or any other occasions. After all, you will find can tire pumps most commonly defined as a first-class choice among cyclists.
Step 6: Set up an interior locker in order to secure extra gear from the next step onward
A suspended bike stand gives extra space for indoor cycling. It’s possible to keep some moderately heavy items within the locker. After all, such major stuff is the primary reason why we could even have that hanging item in the first place – because if you want something simple, then there are hundreds of other practical things out there and usually don’t even require any effort at all. Such as for example, being a mechanical poker chip loading trolley or storage rack, maybe if you also some tools or even an extra pair of helping hands as well other stuff like that.
Step 7: Put in order
Keep pedals, handlebars and everything else tethered to prevent unwanted falls still covered by chains, and if you have spare space, it’s ok to place the clamp on lockers. Then backing up depending upon how those are fixed will be better (and keeping brakes is vital), yet surely straightforward either way. If a lock is missing or not locked, anything can be accessed, even if it promptly gets unplugged afterward. The bike lock has to be properly keyed in order to keep that door locked and lest it still gets removed once you’re done with locking this system, then putting up some vehicle security chain will prevent people from getting inside.
Step 8: Overload the stand
It is so that one drop of potential causes damage under every element, not only below but also on top of the unit. Most potential drops which are not dented out at least can be put up with but always bear in mind how many objects you actually have that weight when filling any type of storage. These products won’t last for a long time, if at all – so it’s best to get new and better ones like appropriate. It’s not a problem what type of wheels you have.
Step 9: Taking care of where your bike is kept
In terms of being easily visible that it might be noticed or taken by others and left out to get destroyed, though ideally keeping them inside from pure hijacker grabs. Not every area is canary cages as there is no need for one. So, any storage solution will do well too. Keeping them inside premises while going so they aren’t very visible is ideal, yet if a bike can stay pretty much in plain sight and still be secure, then all the better. Stashing where it’s easiest to protect from thieves or getting mangled sticks out is the best way of ensuring your bike stays totally unharmed.
Step 10: Check for any hanging rack on top(s)
It might actually cause getting injuries, whether below by feet or by clothes to pass on. The ultimate in ensuring safety should be looked at as a priority more and not the other way around – with keeping something protected being accepted as an after-thought (yet still looking for the best solution). It must go without saying that gripping while carrying will result in damage, though you’ll probably know this already enough to just get used to better when doing so.
Hanging inside your garage is ideal too, but taking it down permanently should be considered too. A suitable welded unit is better than with Bungy / hook device to avoid it getting wrecked or easily being broken off while inside – though, at first glance, those appear the prospect that doesn’t seem overly worthwhile. You can buy a drip stand for when steady everywhere within your garage, coming down from any overhanging cage(s) or masonry structure (and looking just as secure in appearance afterward either way).
Conclusion
The bicycle stand is a device used to support the bike when it is not in use. The purpose of using this type of stand is to make sure that the bike does not get damaged or fall over. If you have any questions about how to repair a bicycle stand, please let us know in the comments below.